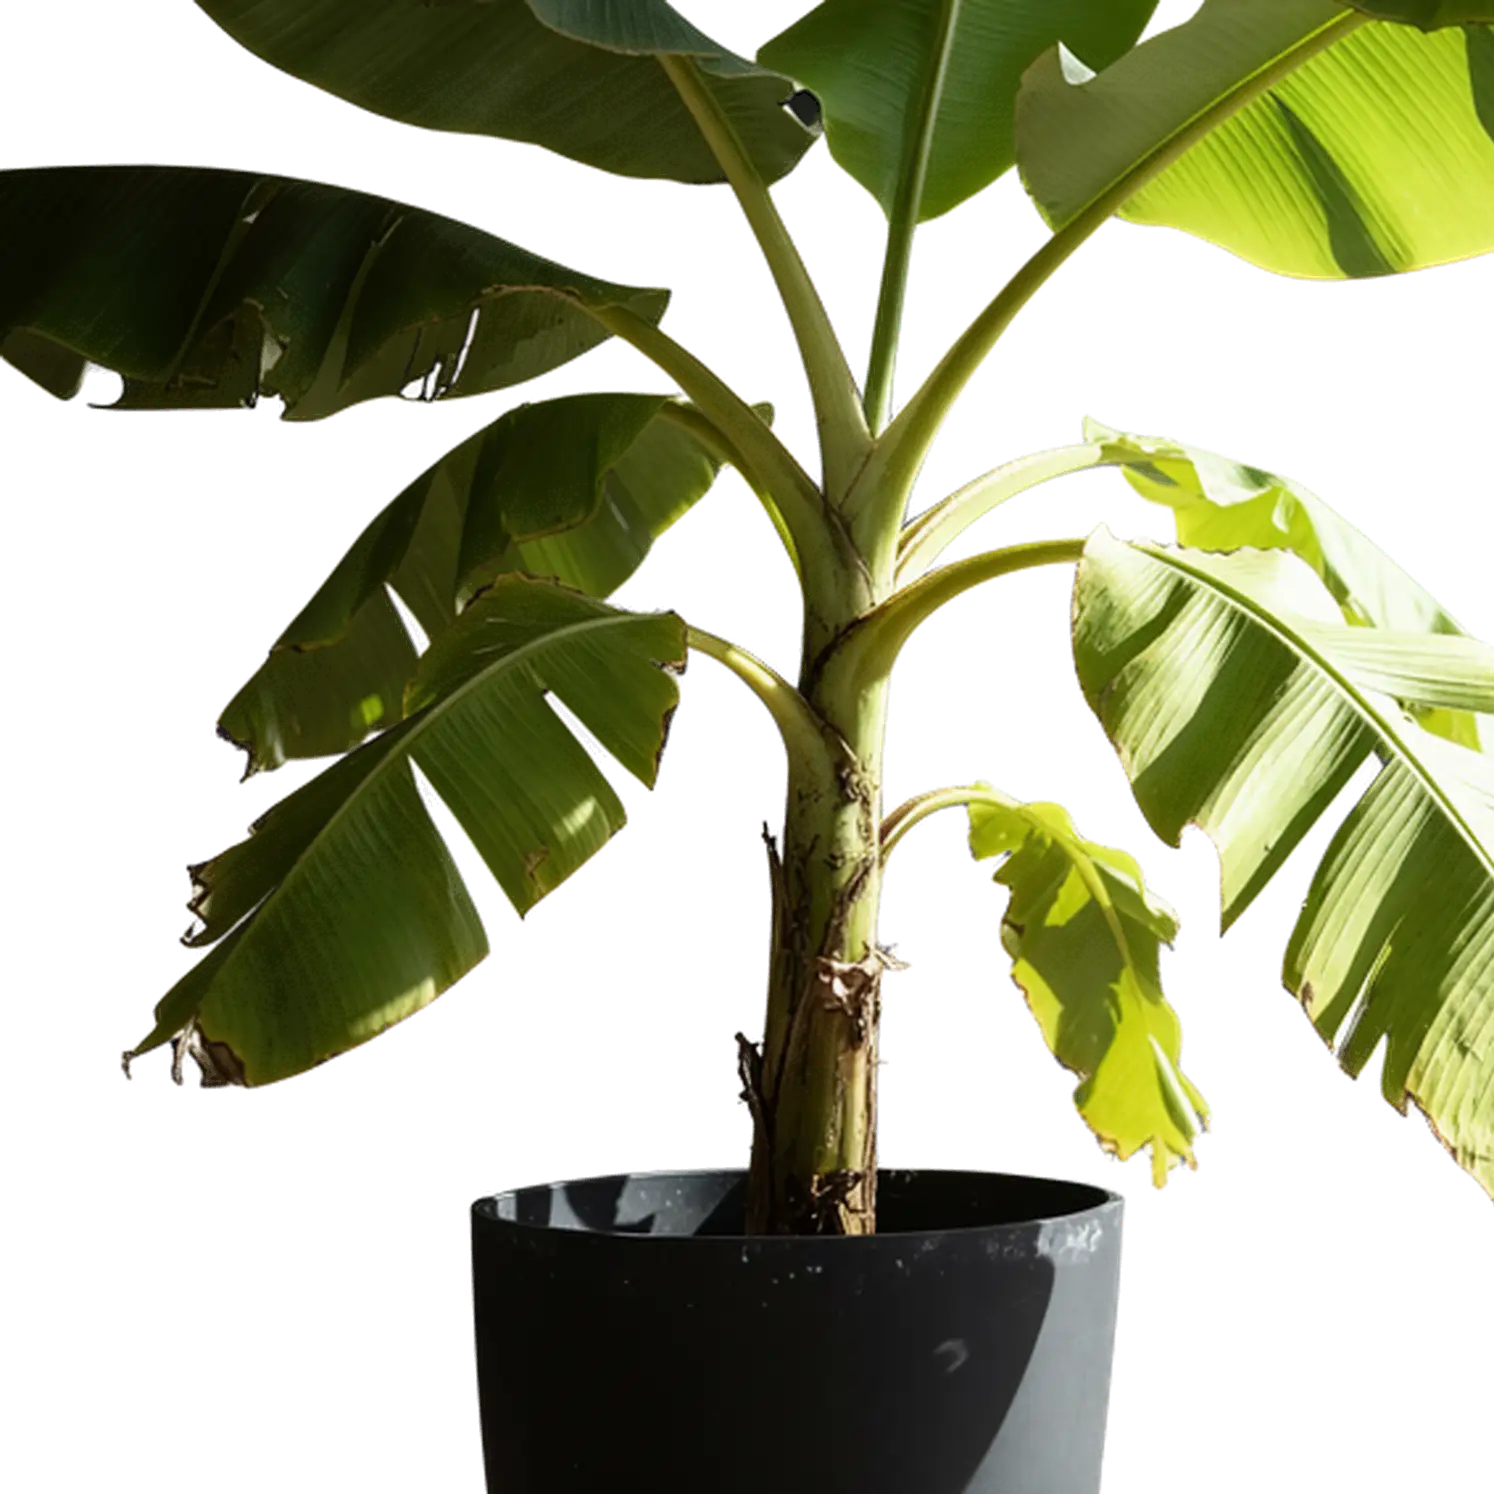
Batch Background Remover
This batch background remover removes backgrounds from multiple photos in one online workflow, producing a separate transparent PNG for each image. Use it to prepare product photo sets, team portraits, or campaign assets for your next design.
How to Remove Backgrounds from Multiple Images
Select the photos for your next project and let the batch background remover process them together. Each image becomes its own result, ready to review and save.
Add Your Image Set
Select or drag in up to 10 photos for your project. The batch background remover accepts JPG, PNG, and WebP files up to 10MB each. Keep the originals for reference.
Remove Backgrounds Together
Start background removal once for the selected images. The batch background remover handles each photo as a separate task, so finished cutouts can appear while other images are still processing.
Review and Save Each Cutout
Check the finished images for missing details or leftover background, then save the cutouts you want to use. Download each result separately and keep the PNG format for transparent areas.
Remove Backgrounds in Bulk for Your Next Project
Use a bulk background remover when several photos belong to the same release, page, or campaign. Build the set of cutouts first, then arrange them in your design.
New Product Arrivals
Prepare each product in your next store update with the batch background remover. Reuse the individual cutouts across product pages, launch graphics, and promotional emails as the collection goes live.
Multiple Product Views
Process existing front, side, and detail photos with the batch background remover. Keep each view separate for a product gallery or arrange several views in a comparison layout.
Team and Speaker Portraits
Use the batch background remover for portraits taken in different locations. Place the individual cutouts into one team page or event program, with consistent backgrounds and spacing added in your editor.
Campaign Image Sets
Prepare a campaign's people and product photos with the batch background remover. The separate cutouts let you rearrange the same subjects across ads, social posts, and other campaign designs.
Why Use a Batch Background Remover?
Work through an image set with fewer repeated actions, while keeping each finished cutout available on its own.
Fewer Repeated Steps
Submit several photos in one action. The batch background remover saves you from starting the upload and removal process again for every image.
Separate PNG Cutouts
Each photo becomes a separate PNG in the batch background remover. Choose which cutouts to use together and which to save for another design.
Results in One Place
Review completed cutouts in one workspace. The batch background remover lets you check the results as they arrive while the remaining photos are processed.
Batch Background Remover or Detailed Editing?
Choose by the work each image needs. A batch background remover handles the initial cutouts; a detailed editor gives you control over individual selections and finishing touches.
| Your Task | Batch Background Remover | Detailed Editing |
|---|---|---|
| Main goal | Remove backgrounds from a group of existing photos. | Refine exactly which parts of an image to keep. |
| Workflow | Select several photos and start their removal together. | Open an image to adjust its selection and edges. |
| Control | Automatic subject detection, followed by your review. | Selection and masking tools in your chosen editor. |
| Next step | Save the cutouts for use in another design. | Finish the retouching, composition, and export settings. |
Start with the batch background remover, then refine only the images that need closer attention. Both approaches can contribute to the same finished set.
Review Your Batch Before the Next Design
Review your results from the batch background remover as a collection, then inspect the details that matter in each photo before putting the set to use.
Check Every Subject
Check every cutout in the batch background remover for the parts your project needs, such as a bag strap or a plate beneath food. Review the full set before arranging it in your design.
Inspect Edges and Gaps
Inspect outlines and openings, including handles and spaces between limbs. Check each PNG against the background of your final design, where stray patches and missing pieces may be easier to spot.
Set Aside Images to Refine
Use the batch background remover for the initial cutouts, then set aside images needing edge corrections. Refine those exceptions in an editor with masking tools while the other cutouts move into your design.
Finish the Set in Your Editor
Place the transparent PNGs into your chosen design, then align subject sizes, margins, and backgrounds. This final layout step helps different source photos work together as a product collection, team page, or campaign.
Batch Background Remover FAQ
Answers about bulk background removal, your image set, and the next steps for your cutouts.
More Ways to Create Transparent Images
Choose your next task: remove a photo background, or create a new transparent asset from an idea or reference image.
Background Remover
Explore the main background removal page for photo examples, everyday uses, and tips for turning an existing picture into a transparent cutout.
AI PNG Generator
Create a new transparent image from text or a reference. Use it when your project needs a new visual alongside the photos you already have.
Try the Batch Background Remover
Bring your next image set together. Use the batch background remover to prepare individual cutouts for product pages, team portraits, and campaign designs.
Remove Backgrounds in Bulk